This is an older version of Search Guard. Switch to Latest version
Kibana access control
Content
This guide assumes that you have already installed Search Guard in your cluster using the demo installer.
In the last chapter we have successfully set up users, roles and permissions that control access to Elasticsearch. We now want to apply the same level of security to Kibana.
As a first step, we need to install and configure the Search Guard plugin for Kibana.
Installing the Search Guard Kibana plugin
The easies way to install the Kibana plugin is to install it online from Maven:
Copy the URL of the Search Guard Kibana plugin zip matching your exact Kibana version from Maven:
- Stop Kibana
- cd into your Kibana installaton directory
- Execute:
bin/kibana-plugin install https://url/to/search-guard-kibana-plugin-<version>.zip
Configuring the plugin
To configure the Search Guard Kibana plugin we add the following minimal configuration to kibana.yml:
searchguard.auth.type: "basicauth"

searchguard.cookie.password: <encryption key, min. 32 characters>

elasticsearch.hosts: "https://<hostname>.com:<http port>"

elasticsearch.username: "kibanaserver"
elasticsearch.password: "kibanaserver"

elasticsearch.ssl.verificationMode: none

elasticsearch.requestHeadersWhitelist: ["Authorization", "sgtenant"]
searchguard.auth.type: “basicauth”
This tells Search Guard to use HTTP Basic authentication.
searchguard.cookie.password
Search Guard uses an encrypted cookie to store session data. This setting defines the password used for encryption. While this setting is optional and Search Guard will fall back to default password, it is advisable to set this to a random String with minimum 32 characters.
elasticsearch.hosts
The Elasticsearch hosts that Kibana will connect to. Since Search Guard adds TLS on the Elasticsearch REST API, make sure you use https instead of http here.
elasticsearch.username and elasticsearch.password
Kibana uses a service user under the hood (the “Kibana server user”) to perform maintenance tasks and health checks. The Search Guard configuration comes with a demo Kibana server user which already has all required permissions and we can just use.
For a production setup, you should at least change the password of the Kibana server user.
elasticsearch.ssl.verificationMode
Since the Search Guard demo installer uses self-signed TLS certificate, we disable certificate verification.
For a production setup, you should at configure the root CA in kibana.yml instead of disabling the certificate verification.
elasticsearch.requestHeadersWhitelist
By default, Kibana will not forward any HTTP headers to Elasticsearch. Therefore we need to whitelist the HTTP headers used by Search Guard.
Granting Kibana access permissions to users
In order to grant Kibana access permissions to users, we need to assign them to the build-in Search Guard role SGS_KIBANA_USER.
This role grants permissions to access all Kibana applications like Dashboards, Visualizations, Canvas etc.
Again, in order to assign all users we created in the first step to the SGS_KIBANA_USER role, we use the role mapping feature and the backend roles of the users:
SGS_KIBANA_USER:
  backend_roles:
    - hr_department
    - devops
This maps all users with the backend role hr_department or devops to the SGS_KIBANA_USER role.
Testing the plugin installation
After making the configuration changes and starting Kibana, we will see the Search Guard login screen once we try to access Kibana:
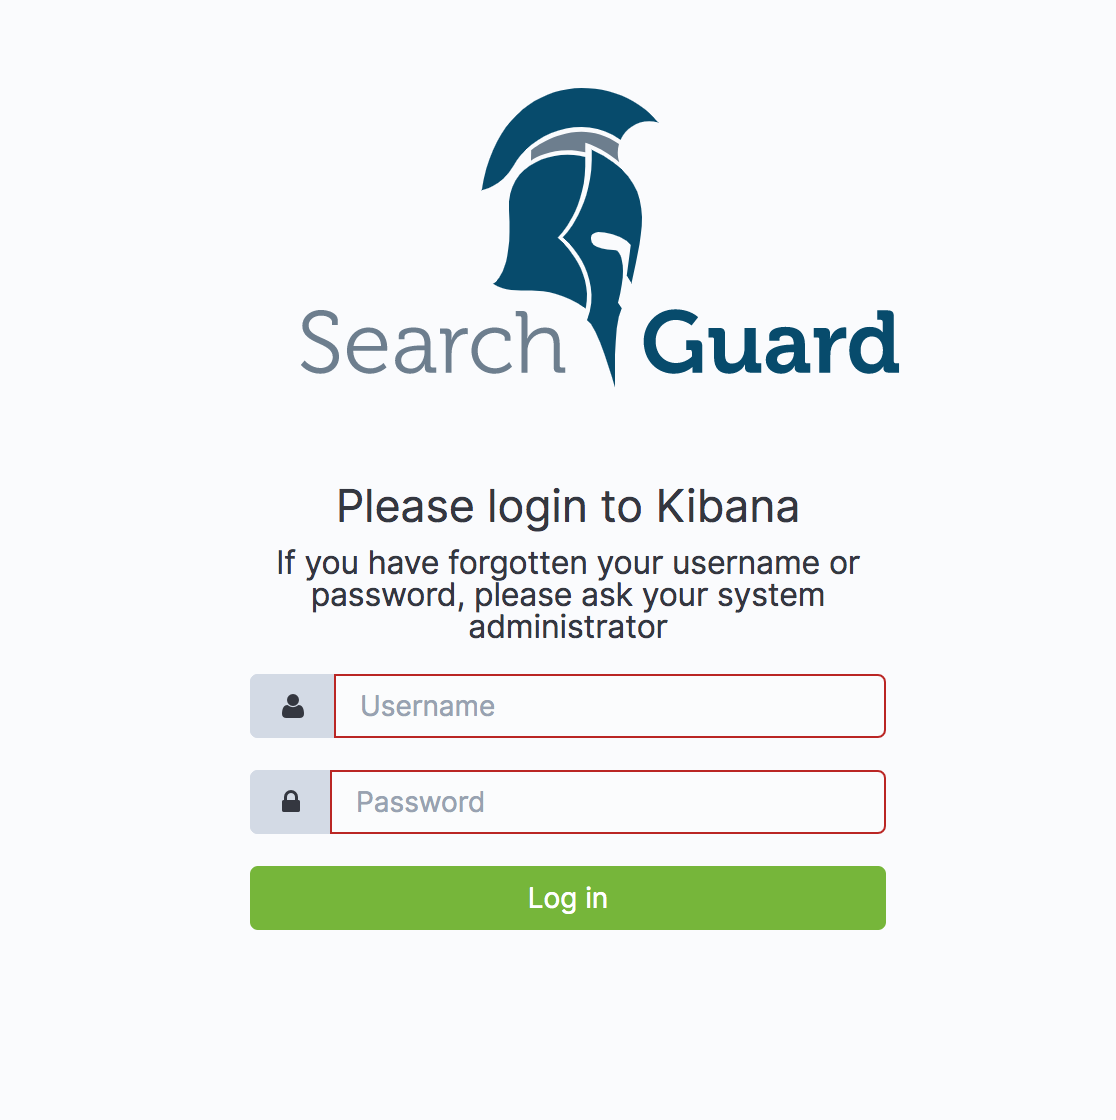
We can now log in as jdoe with password jdoe.
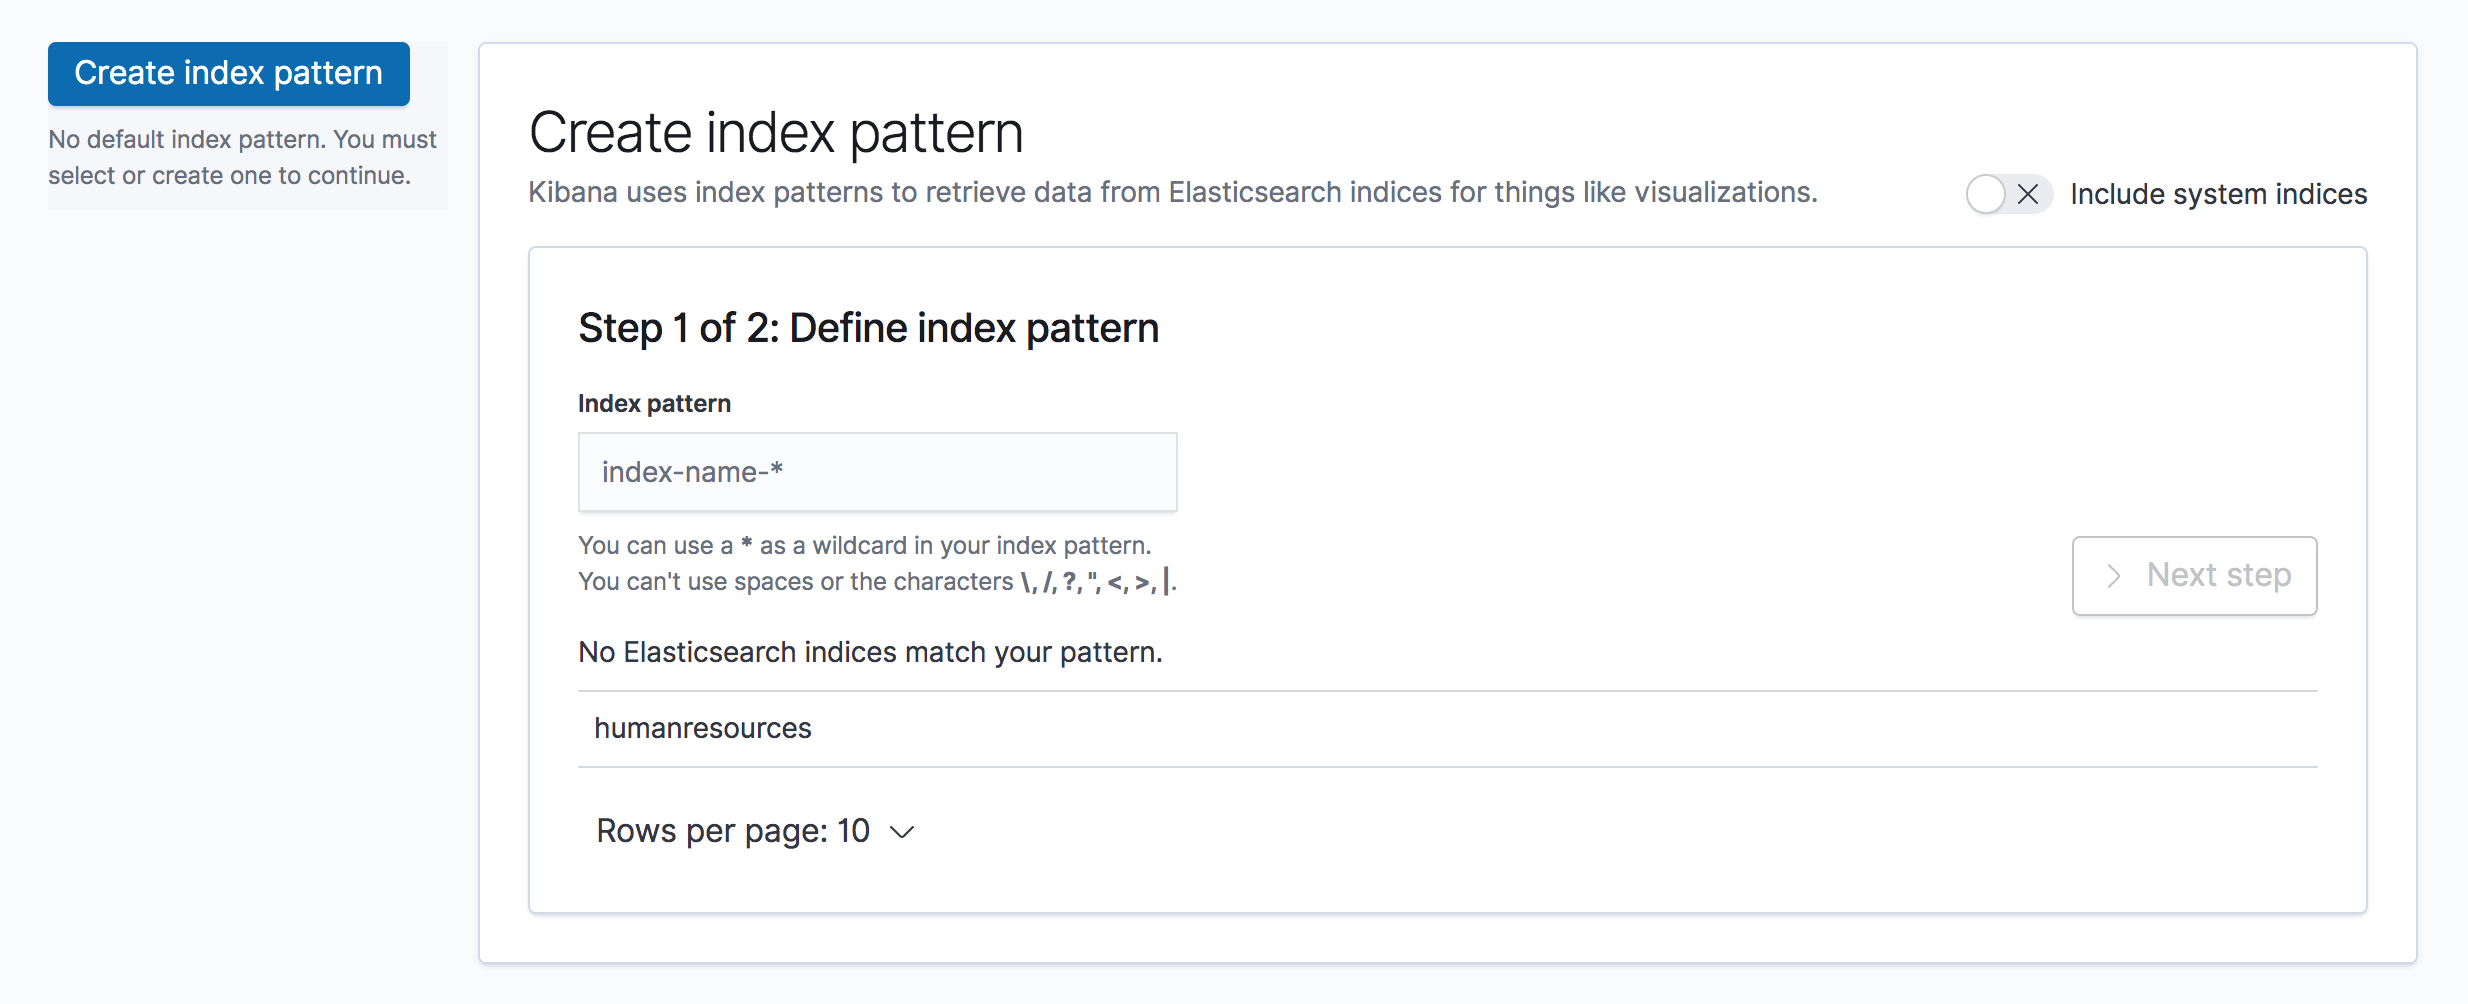
The user is assigned to the single sg_human_resources role, which only grants READ permissions for the humanresources index.
Thus, if we try to set up an index pattern, the only index accessible is humanresources:
Additional resources